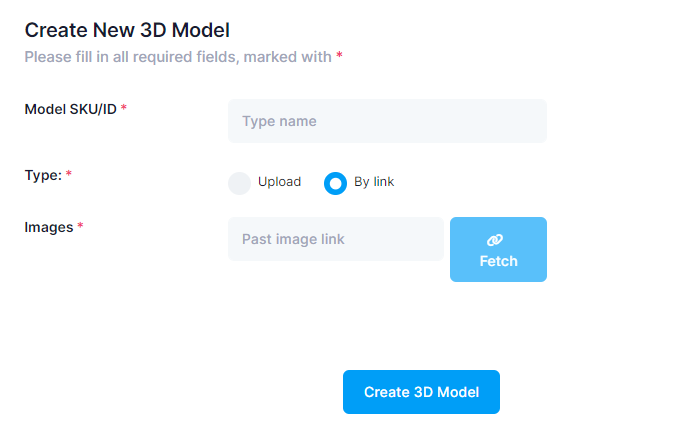
When you want to create a new 3D Model you have a choice between two ways:
- Drag & drop of images
- URL
Drag & drop of images
The first is uploading a file. Allowed file types are: png, jpg, jpeg, webp with a maximum file size is 4096 KB.
 URL
URL
The second way is to uploading file by adding their URL. All the images stored on a website have their own URL.
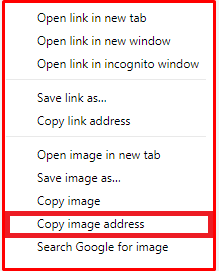
Click right on the image and select the "copy image address" and past the link into the 3D from photo platform and click on "Fetch".
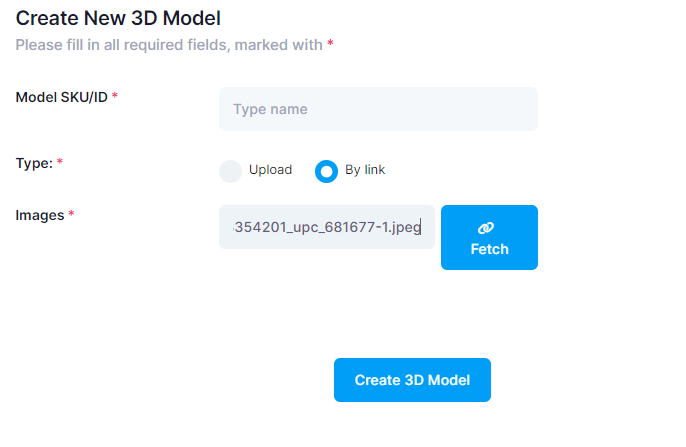
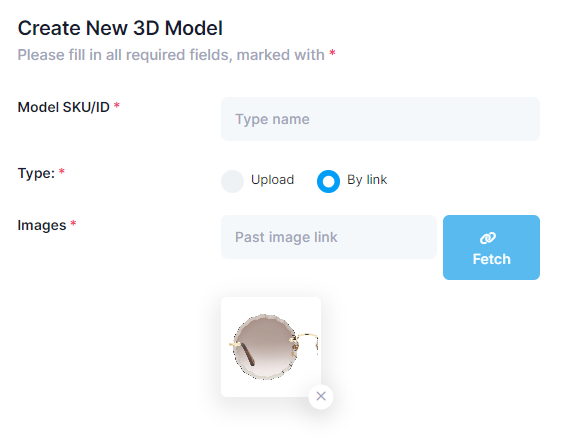
The image will be automatically loaded and you can repeat the action for the second view.
Required view are front and side view (see the guidelines here).
Bulk upload
This is a second method for uploading multiple photos at once.
To do this, click on the Bulk Upload button.

To allow the system to create multiple models at once, please follow the instructions below:
1. Place all images in the same main folder
- All product images must be placed directly inside a single main folder.
Please, do not create subfolders.
2. Use the correct file naming format
Each product requires exactly two images:
- Image 1: Front view
- Image 2: Side view (90° angle recommended)
Both images must be named using the following format:<SKU>_<number>.<extension>
What this means:
- <SKU> → The unique identifier of the frame
- <number> → 1 for the first image, 2 for the second image,
- <extension> → Image format (for example: jpg or png)
Example
If your product SKU is ABC123, your files should be named:
- ABC123_1.jpg
- ABC123_2.jpg
Important
- Only files that follow this exact structure and naming format will be uploaded.
- Files with incorrect names, missing images, or unsupported formats will be ignored.
Once you have uploaded the folders, click on Create Models button.

Do not click on any other button until the upload is complete.

Once the upload is complete, your items will appear in My 3D Models.
Depending on the number of items in your folder, the digitization time may vary.
